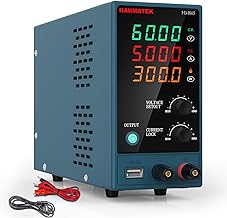
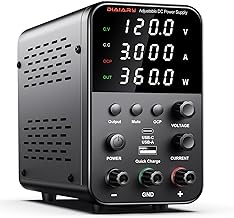
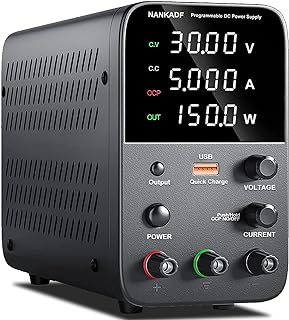
Variable Power Supply 300V
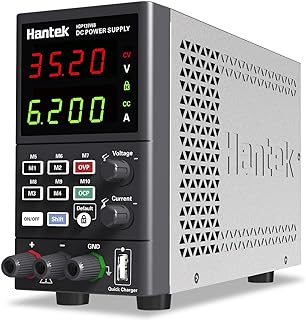
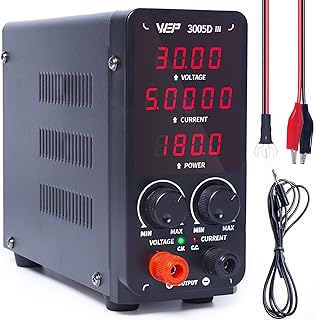
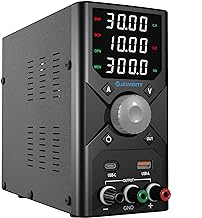
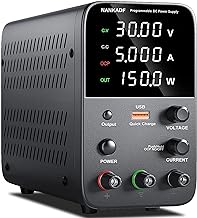
The Variable Power Supply stands as an indispensable tool renowned for its precise and stable DC voltage output, essential for accurate testing and calibration of electronic components. It boasts advanced features such as precise voltage control, low ripple, and customizable current settings, ensuring dependable performance in demanding settings like semiconductor testing and research labs. Enhanced with safety features and high-resolution displays, it guarantees both precision and safety. Trusted across various industries, it is crucial for achieving meticulous control and accurate measurements in experiments, quality assurance, and electronic device development.
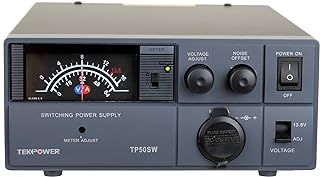
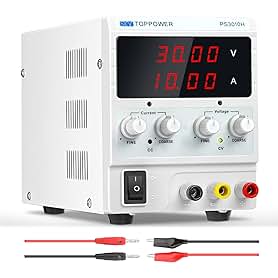
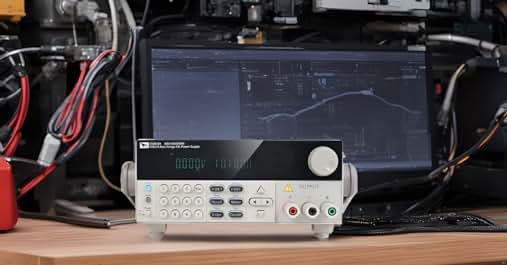
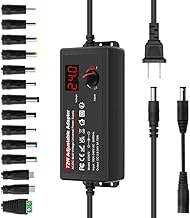
Discover Linksysvelop's comprehensive selection of benchtop power supplies featuring LCD and monitor displays. Our catalog includes high-voltage, programmable, variable voltage, linear, and switching DC power supplies. Explore now to find the ideal power solution customized to meet your specific requirements.
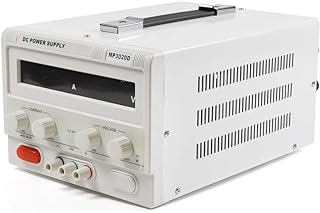
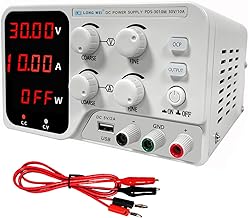
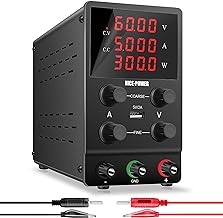
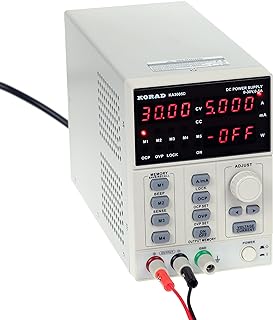
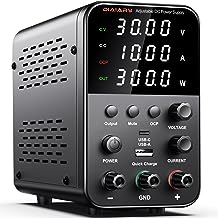
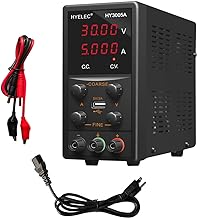
High Current Variable DC Power Supply